

Blog
Acrylic Nail Sculpting for Stronger Salon Sets
Sep
A well-fitted sculpting form can tell you more about the finished set than the colour ever will. Acrylic nail sculpting is where technical control meets Fashion For Fingers: tailored length, a refined structure and an enhancement designed around the client’s natural nail rather than a pre-made tip.
For technicians, sculpting is a valuable service skill because it creates options. You can correct a slightly uneven free edge, build a bespoke almond or tapered square, and produce extensions that look balanced from every angle. It is also a discipline. A beautiful finish depends on preparation, form placement, bead control and filing with purpose – not simply applying more product.
What acrylic nail sculpting really involves
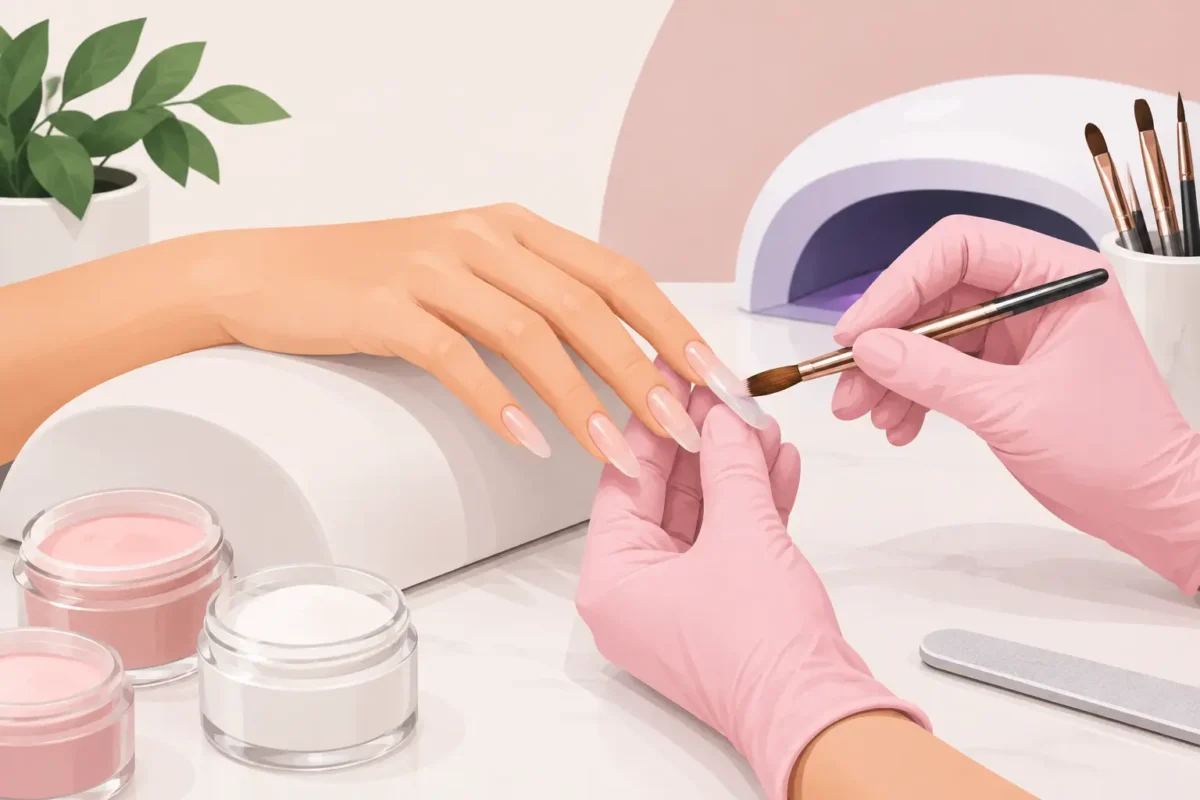
Acrylic sculpting builds an extension directly over a disposable form placed beneath the natural nail’s free edge. The form acts as a temporary guide, allowing you to create length and shape with liquid and powder before the acrylic hardens. Once the enhancement has cured, remove the form, refine the structure and finish with colour, art or a high-shine top coat.
Unlike a tip application, the extension is not restricted by the size, curve or contact area of a plastic tip. That makes it particularly useful for clients who want a customised look, have short free edges, or need a more considered correction to achieve visual symmetry.
This does not mean sculpting is automatically the right choice for every appointment. Tips can be a quick, reliable option for clients who want a familiar salon extension and suit the available tip shapes well. Sculpting generally takes more precision and may take longer while you build confidence. The result, however, is a service with serious premium potential when it is executed cleanly.
Why sculpted acrylic earns its place on a salon menu
The strongest argument for sculpted acrylic is control. You decide the extension’s direction, sidewalls, apex placement and free-edge thickness. That matters when a client wants a dramatic stiletto, a sleek modern almond or a short, strong salon square that will stand up to daily wear.
It also allows for a better response to individual nail anatomy. Natural nail plates vary in width, curvature and growth direction. A form can be adjusted and cut to sit closely beneath the free edge, helping the technician create a more natural continuation of the nail. The goal is never to force every hand into one template. The goal is to make the set look intentional, proportional and comfortable.
For salon owners, sculpting can help distinguish an enhancement menu from a basic extension service. It gives experienced technicians a platform to show technical ability and supports higher-value appointments such as custom French, competition-inspired shapes and fashion-led nail art sets. Clients may not ask for an apex by name, but they notice when a set feels light, looks elegant and wears well.
Structure matters more than length
A long extension without correct architecture is not a luxury service. It is a repair appointment waiting to happen. The apex should be positioned to support the stress area, while the sidewalls should run straight and balanced from the natural nail. Product needs to be strong where the enhancement needs support, but not so bulky that it looks heavy or causes unnecessary filing.
The free edge should remain refined. If it is too thick, the nail can look artificial and feel cumbersome; too thin, and durability may suffer. Shape, length and the client’s lifestyle all affect the final structure. A short square for a healthcare worker requires a different approach from a long almond created for a client who wears extensions every day.
Preparation is where retention begins
No sculpting technique can compensate for rushed preparation. Start with a thorough consultation and natural nail assessment. Look for lifting, damage, signs of infection, skin sensitivity and whether the requested length is realistic for the client’s nail condition and routine. If there is any concern about nail health, do not proceed with an enhancement service.
Cleanse and sanitise according to professional salon hygiene practice. Gently push back the cuticle area, remove non-living tissue from the nail plate and refine the natural shine with a light touch. Over-filing thins the nail plate and does not improve adhesion. Remove dust carefully, then apply your chosen prep and primer system exactly as directed by the manufacturer.
Product compatibility is not a small detail. A professional acrylic system is formulated to work as a system, from liquid and powder through to prep products and finishing choices. Mixing brands or improvising application steps can affect adhesion, clarity and wear. For consistent salon results, train with the system you retail and use the ratios recommended for that range.
Form fitting: the make-or-break moment
A form should sit snugly beneath the natural nail without gaps at either side. If there is a gap, acrylic can slip underneath, creating a weak or uneven extension. If the form points upwards, the finished nail can resemble a ski jump; if it angles down too much, the shape may appear hooked.
Before applying product, check the form from the front and side. Its centre line should follow the centre of the finger, not merely the centre of the natural nail if the nail grows slightly to one side. Adjust the wings and make small cuts where needed to accommodate deeper sidewalls or a flatter nail plate. This extra minute can save a great deal of filing later.
For a square or squoval, keep the form aligned straight ahead. For almond and stiletto shapes, bring the guide gradually towards the centre line to create a crisp, elegant point. Avoid making an extreme shape simply because the form allows it. The client’s finger length, nail bed width and day-to-day needs should lead the decision.
Bead control creates a cleaner enhancement
Consistent liquid-to-powder ratio is central to acrylic nail sculpting. A bead that is too wet can run into the sidewalls and cuticle area, while a bead that is too dry may not self-level or bond as intended. Work with a controlled, workable bead that can be placed accurately, then guide it with the belly of the brush rather than repeatedly dragging at it.
Many technicians work in zones: a thin bead near the cuticle area, a supporting bead through the apex and stress area, and a final bead to build the free edge over the form. The precise bead size and order can vary with the product, shape and technician’s preferred method. What should remain consistent is a clean cuticle margin, smooth transitions and enough product through the centre of the nail to provide strength.
Keep the cuticle area thin and tidy. Flooding this zone is one of the quickest routes to lifting, as well as an untidy regrowth line. Leave a small margin from the skin and use the brush to taper the product before it sets. If acrylic touches the skin, remove it immediately and safely rather than trying to hide it under top coat.
File for balance, not for bulk removal
Once the acrylic has set to the correct stage for your system, refine the enhancement methodically. Begin with length and sidewalls, then shape the free edge. Check the nail from the front, side and client’s view. A nail can look straight from above while appearing uneven when the hand is turned.
Refine the surface with a focus on the apex and overall profile. The aim is a smooth, balanced enhancement that needs minimal product removal because the application was placed well in the first place. Finish by removing every trace of dust before gel polish, nail art or top coat. Even the most glamorous chrome, French or crystal design loses impact on a poorly balanced foundation.
Common sculpting errors worth correcting early
Beginners often make forms too loose, build excessive length before they can control the structure, or file the apex away while trying to smooth the surface. These are normal learning points, not reasons to avoid sculpting. Practise on a training hand, take clear side-profile photographs and compare one set with the next. Technical progress becomes easier when you can see exactly where the balance changed.
Education matters here. A practical acrylic course offers supervised feedback on form fitting, ratio, application speed and filing angles – the details that are difficult to judge from a short video alone. Repetition builds confidence, but correct repetition builds professional standards.
Acrylic sculpting is not about making every client wear the longest nails in the room. It is about creating an enhancement that suits their hands, supports their lifestyle and gives your finished design the polished, fashion-led foundation it deserves.
