

Blog
How to Clean Nail Drill Bits and Handpieces
Nov
A nail drill that looks clean can still be holding fine acrylic dust, gel residue and skin particles in exactly the places that affect hygiene and performance. Your e-file is a hardworking salon tool, not a product to wipe over at the end of a busy week. Clean it correctly between clients and it will feel smoother in service, last longer and support the professional standard your clients expect.
Knowing how to clean nail drill equipment properly also protects your investment. The key is treating the handpiece, drill bits and disposable abrasives as separate items. They need different cleaning methods, and soaking everything in disinfectant is not the answer.
What needs cleaning after each client
The parts that need attention are the outside of the handpiece, the chuck or collet opening where the bit sits, the drill bit itself and any dust that has gathered around the cable, control unit or e-file stand. If you use a sanding band, file disc or other single-use abrasive, remove and dispose of it after the service. Never attempt to clean and reuse a disposable sanding band.
This distinction matters. A carbide, ceramic or diamond bit may be suitable for reprocessing according to its manufacturer guidance and your salon hygiene procedure. A disposable abrasive is not. Keeping those systems separate is a simple habit that makes your workstation safer and faster to reset.
Before you start, switch the unit off, unplug it from the mains and let the handpiece come to a complete stop. Never clean a running drill, and do not spray liquid directly into the handpiece, motor vents, control unit or socket.
How to clean nail drill handpieces safely
Start by removing the bit using the correct twist-lock or push mechanism for your model. Brush loose dust away from the handpiece exterior with a clean, soft brush. A small lint-free wipe is useful for lifting the fine powder that settles around the grip and near the chuck.
Next, wipe the external surfaces with a compatible cleaning or disinfecting product, following the product label for dilution, contact time and safe use on electrical equipment. The wipe should be damp, never dripping. Give particular attention to the grip, the area around the bit opening and any buttons or speed controls that are handled during a service.
Do not immerse the handpiece in water or disinfectant. Do not run it under a tap. Liquid can travel into the motor or bearing area, causing corrosion, electrical faults and a rough, noisy feel during use. Acetone and harsh solvents are equally unsuitable for most handpiece finishes and internal components.
Use a dry, soft brush to clear visible dust from the collet opening. Keep the handpiece angled downwards while doing this so debris falls out rather than further inside. If your model comes with a specific cleaning brush, cap or maintenance instructions, use those rather than improvising. Some professional e-files require occasional manufacturer-approved lubrication, while others specifically should not be oiled. It depends on the mechanism, so the instruction manual always wins.
Once wiped, allow the handpiece to air dry completely before fitting a clean bit or returning it to its stand. Do not wrap it in a towel while damp, and avoid storing it in a closed drawer with residual dust around the vents.
Clean the control unit and cable, too
The control unit is easy to overlook when appointments are back-to-back. Wipe its exterior, display area, speed dial and foot pedal using a suitable damp disinfectant wipe. Keep moisture away from ports, seams and vents. For the cable, wipe from handpiece to plug, checking for cracks, kinks or areas where the outer coating has worn.
Dust build-up around vents can make an e-file work harder than it needs to. Clear it gently with a dry brush only. Compressed air can push dust deeper into the unit and is best avoided unless the manufacturer expressly permits it.
How to clean nail drill bits correctly
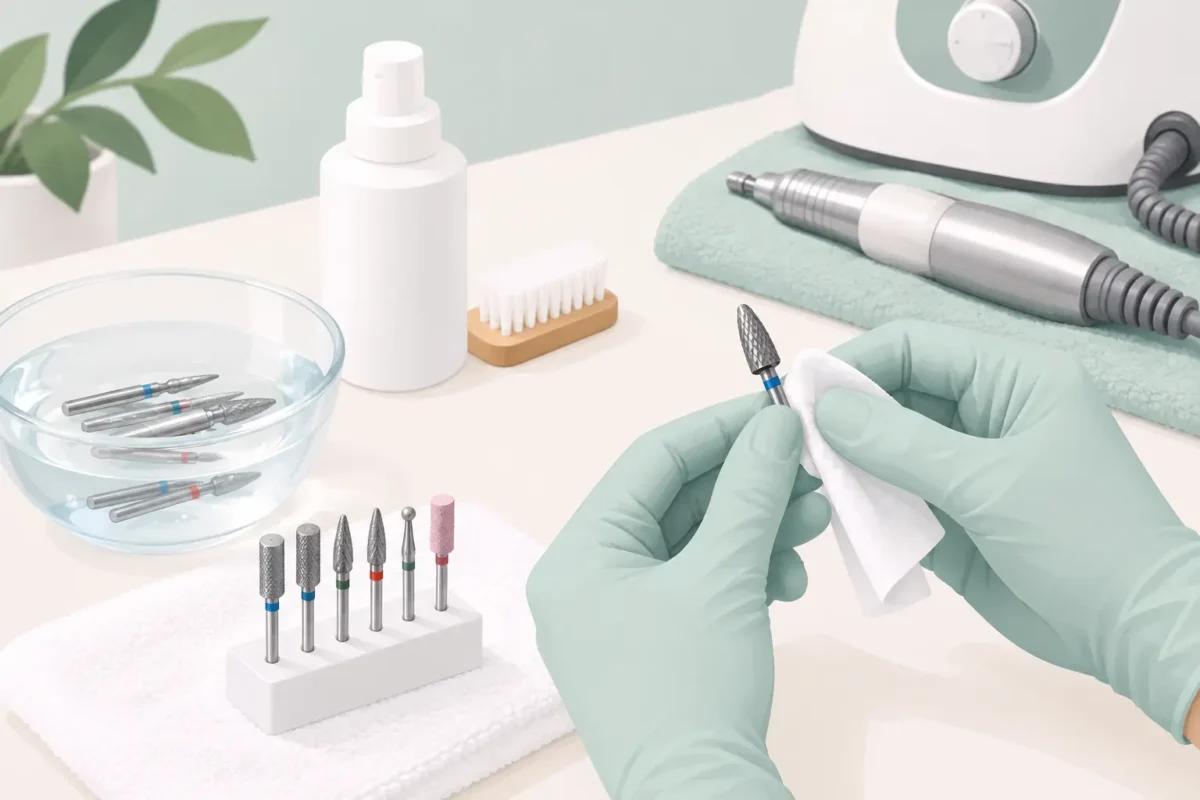
Bits need a proper two-stage process: remove visible debris first, then carry out the appropriate disinfection or sterilisation process for the bit type, manufacturer instructions and your salon protocol. Disinfectant cannot work effectively through compacted product dust.
A small bit-cleaning brush is ideal for working around flutes, grooves and the heads of diamond bits. Use detergent and water only where the bit manufacturer confirms the material can be washed. Brush carefully until all visible acrylic, gel and dust residue is gone, then rinse if required and dry thoroughly. Leaving metal bits wet invites corrosion and can affect their cutting performance.
For reusable bits, follow the directions for your chosen professional decontamination system and its stated contact time. If your policy requires sterilisation, use equipment and procedures appropriate to that process. Never assume every bit can go into every cleaning device. Ceramic, carbide, diamond, tungsten and speciality nail art bits can have different care requirements, and coatings may be damaged by unsuitable chemicals or excessive heat.
Inspect each bit once it is clean and dry. Retire bits that are blunt, bent, corroded, chipped or clogged beyond proper cleaning. A worn bit encourages technicians to use more pressure, which can create heat and make a removal service uncomfortable for the client. Fresh, well-maintained bits are a performance choice as much as a hygiene choice.
Store fully processed bits in a clean, dry, covered container rather than loose in a drawer. This stops fresh dust settling on them before the next appointment and helps you maintain a clear clean-versus-used workflow at the desk.
A practical between-client routine
A consistent turnaround routine keeps the process quick without cutting corners. Remove and dispose of any single-use abrasive, then take the reusable bit out of the handpiece. Brush product dust away from the bit and handpiece, wipe the handpiece exterior and control surfaces, and place the reusable bit into your designated cleaning process.
While that is happening, clear dust from your e-file stand and the surrounding work surface. Replace your towel or desk liner, put out a processed bit and fit a fresh sanding band only when you are ready for the next client. This sequence reduces cross-contamination and prevents clean items being placed back onto a dusty station.
If you work mobile, take enough clean bits and disposable bands to avoid trying to rush a reprocessing step between appointments. A labelled, covered container for used bits and a separate container for processed bits makes professional hygiene much easier to manage on the move.
Mistakes that shorten the life of an e-file
The most common mistake is soaking the handpiece. It may seem thorough, but it can quickly turn a professional tool into an expensive repair. Spraying cleaning liquid directly into the chuck or motor area has the same risk.
Another is leaving a bit locked in the handpiece after work. Remove it before storing the unit. This protects the collet mechanism, makes cleaning easier and reduces the chance of the bit being knocked or bent.
Avoid using a clogged bit for “just one more client”. Product packed into the grooves changes how the bit cuts and can increase friction. Equally, do not clean bits with a metal tool that can damage their teeth or coating. The right brush, the right cleaning chemistry and a simple inspection routine will give a far better result.
Finally, do not treat dust as purely cosmetic. Fine filing dust gets into grips, stands and controls quickly, especially during removal appointments. Build e-file cleaning into your service reset, not your end-of-week chores.
A beautifully maintained e-file supports cleaner prep, more controlled removal and a polished client experience. Make the routine part of your salon standard, and every service has a stronger foundation for Fashion For Fingers.
