
Blog
Do Nail Primers Need Curing? Salon Answers
Oct
A full set can look flawless at the desk and still lift at the sidewalls a few days later. Before blaming the gel, acrylic or client aftercare, check the prep. The question do nail primers need curing has a simple answer in most cases: no. Traditional nail primers air dry, but products called primers, bonders and base gels are not always the same thing.
That distinction matters. Using an air-dry primer under a lamp will not improve its performance, while failing to cure a gel-based bonding product can compromise the entire service. Fashion For Fingers starts with knowing exactly what each bottle is designed to do.
Do Nail Primers Need Curing? It Depends on the Formula
Most liquid nail primers are applied sparingly to a properly prepared natural nail and allowed to dry in the air. They work by improving the bond between the natural nail plate and the enhancement system. Depending on the formula, that may involve gently altering the surface chemistry of the nail, leaving behind a tacky bonding layer, or both.
A standard acid primer does not need a UV or LED lamp. Neither does a traditional acid-free primer. After application, it should dry according to the manufacturer’s directions before you continue with acrylic, hard gel, builder gel or another compatible system.
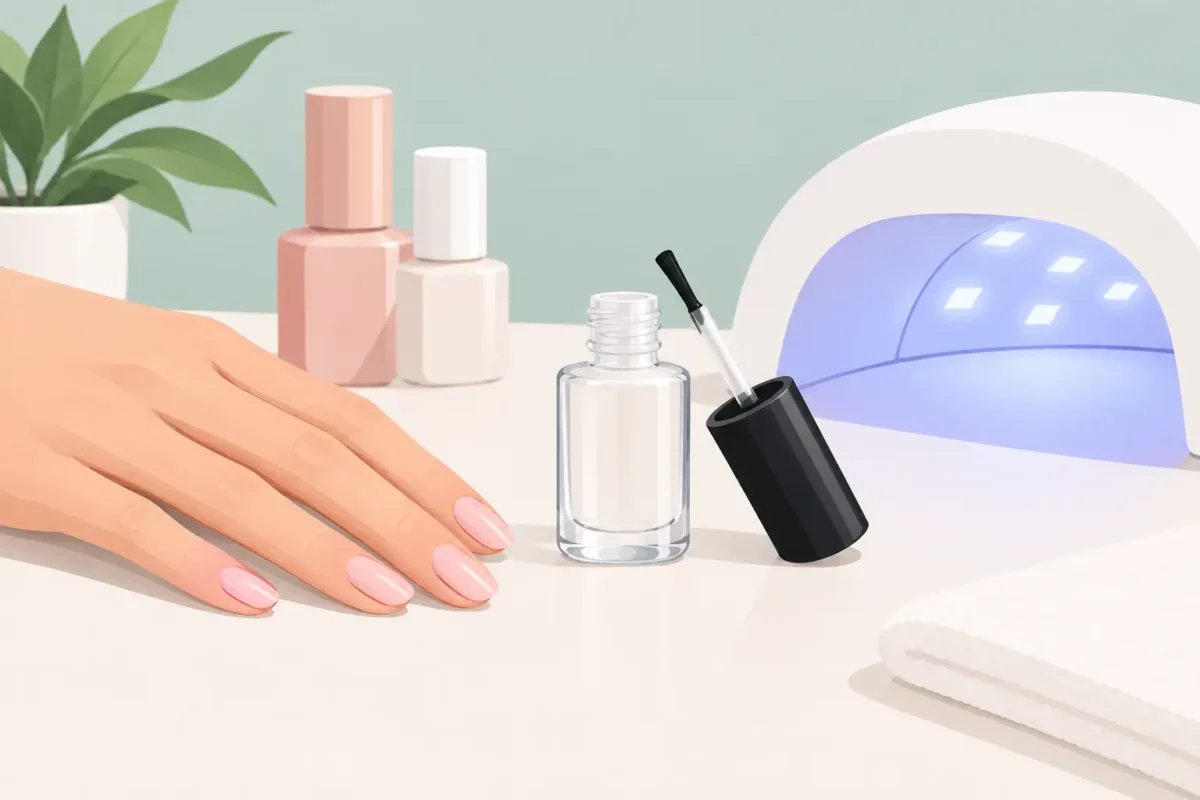
The confusion begins because some brands use the word “primer” for a gel product. A gel primer, UV bonder or rubber base-style bonding layer generally does require curing. It contains photoinitiators that react to the correct lamp output, so it will remain uncured until it has received the stated cure time under a compatible UV/LED lamp.
Never decide from the product name alone. Read the label and technical instructions for that exact product. If it says air dry, let it air dry. If it gives a lamp type and cure time, cure it exactly as directed. A professional service is a system, not a collection of interchangeable steps.
Primer, Bonder and Base Gel: Know the Difference
These terms are often used casually in salons and on social media, but they describe different jobs.
Liquid primer
Liquid primer is usually the final step of natural nail preparation before enhancement application. It is applied only where needed, in a very thin amount, and is normally left to air dry. Some formulas appear chalky or matte once dry; others leave a slight sheen. That visual change is not universal, so follow the brand guidance rather than waiting for a particular look.
Acid primers offer strong adhesion and can be useful for clients with persistent lifting when used correctly. They demand precision. Keep the product away from the skin, cuticle and lateral folds, and do not flood the nail. More primer is not better primer.
Acid-free primers are often the preferred everyday choice because they are gentler and easier to work with. They may feel slightly tacky after drying, which is normal for certain formulas. Do not wipe that layer away unless the instructions specifically tell you to do so.
Gel bonder or gel primer
A gel bonder is a light-curing product used to create an adhesive layer before gel applications. It may be clear, thin and brush-on, which makes it easy to mistake for a liquid primer. The difference is in the chemistry: it needs the lamp to polymerise.
Apply it in a controlled, scrubbed-in coat, avoiding the skin, then cure for the stated time. Under-curing can lead to poor retention and may increase the risk of sensitivity from uncured product. If you are using a professional gel system, the lamp is part of that system too.
Base gel
Base gel is not automatically a primer, even though it promotes adhesion. It is usually a flexible cured layer placed before gel polish, BIAB or selected builder gels. Some systems allow a base gel to be used as the bonding stage with no separate primer; others recommend both. The product instructions decide the order, not habit.
Why Correct Curing Makes a Commercial Difference
Curing is not a cosmetic pause between coats. It is the controlled chemical process that turns gel into a durable coating. A gel product that is cured for too little time, under the wrong lamp, or in a lamp with worn-out performance may look set on top while remaining insufficiently cured beneath.
That can affect wear, shine, strength and safe service practice. It is especially relevant with deeply pigmented colours, thicker builder applications and highly opaque products, but the bonding layer matters just as much. A weak foundation can show up later as lifting, cracking or peeling.
For this reason, do not mix cure advice between brands. A 30-second cure for one gel primer is not a universal rule. Check whether the product requires UV, LED or dual-wavelength output, use the recommended cure time, and keep the client’s hand positioned correctly in the lamp. Thumbs need particular attention, as they can sit outside the effective light zone.
A Prep Routine That Gives Primer a Fair Chance
Primer cannot compensate for incomplete prep. Its job is to support adhesion on a clean, dry, correctly prepared nail plate – not to stick product over cuticle, dust, oil or damaged natural nail.
Start with a thorough consultation and visual nail check. Remove existing product safely, shape the free edge and carry out meticulous cuticle work. Non-living cuticle sitting on the nail plate is one of the most common reasons for premature lifting, particularly around the proximal fold.
Next, gently remove surface shine with the appropriate grit for the service. The aim is an even, refined surface, not aggressive filing. Brush away dust completely, cleanse or dehydrate as your system directs, then apply primer only in the amount and location specified. Let an air-dry primer dry before product application, or cure a gel primer before moving on.
Keep each layer thin and purposeful. When primer, base, builder and colour are all added heavily in an attempt to create strength, bulk and service breakdown often follow. Precision is faster than repairs.
When You May Not Need Primer at All
Not every client and not every system needs a separate primer. Many modern gel polish and builder systems are designed to adhere with correct prep plus their matching base coat. Adding an extra product because it seems “safer” can sometimes create incompatibility or excessive thickness.
A separate primer may be worth considering for clients with oily nail plates, frequent lifting, hands regularly exposed to water or cleaning products, or a history of poor retention despite sound application. Even then, identify the cause first. Lifting can come from product touching skin, inadequate curing, over-buffing, picking, medication changes or lifestyle factors. Primer is one tool, not a cure-all.
Be cautious with compromised nails. If there is redness, pain, visible separation, infection concerns or substantial damage, do not try to bond over the problem. Advise the client appropriately and follow your salon’s professional and insurance guidance.
Common Primer Mistakes to Avoid
The most frequent mistake is treating all clear liquids as though they work alike. An acid-free air-dry primer, a gel bonder and a dehydrator may all come in similar bottles, yet each has a different role. Label your working products clearly and keep your application sequence consistent.
Another mistake is applying primer to the skin. This can cause irritation, particularly with acid formulas, and product on the surrounding skin also makes lifting more likely. Use a small, controlled amount, leave a tiny margin around the sidewalls and cuticle area, and correct any contact immediately according to product safety instructions.
Finally, do not mix systems without checking compatibility. A primer may perform beautifully with its intended acrylic or gel range but behave differently beneath another formula. For salons, keeping reliable system pairings on your service menu protects timings, retention and reputation.
The Practical Rule for Your Nail Desk
If it is a traditional liquid primer, it usually air dries and does not need curing. If it is labelled gel primer, UV bonder or a curing base layer, it needs the specified lamp and cure time. When the label is unclear, pause rather than guess – check the product directions before it touches a client’s nails.
Great retention is rarely down to one miracle bottle. It comes from clean prep, careful product control, compatible formulas and proper curing at every stage. Build that discipline into every appointment, and your finished sets will have the polished, dependable wear clients come back for.
