

Blog
How to Use Nail Foils for a Clean Finish
Jun
Foil that looks perfect on the transfer sheet can turn patchy on the nail in seconds. That is usually not a foil problem. It is timing, surface prep, pressure, or choosing the wrong base for the effect you want. If you are learning how to use nail foils, getting those details right is what separates a quick experiment from a service clients ask for again.
Nail foils are popular for good reason. They give you high-impact nail art fast, they photograph beautifully, and they can shift a simple gel manicure into something more premium without adding heavy structure or lots of hand-painted detail. For salon professionals, that matters. Foils can be a profitable add-on when the finish is crisp and consistent.
How to use nail foils without patchiness
The cleanest foil transfers start before the foil touches the nail. Your nail surface needs to be smooth, fully cured where required, and free from dust, oil, and tackiness you are not planning to use. If the base is lumpy or uneven, foil will expose it rather than hide it. Chrome, metallic and patterned foils all catch light, so every ridge shows.
If you are working over gel polish, make sure the colour coat is properly cured and the surface suits your chosen foil method. Some foils transfer best with foil gel. Others can work over a carefully managed inhibition layer, but this is less predictable and not ideal when you need repeatable salon results. For acrylic enhancements, the nail should be refined and top-coated or sealed appropriately before you begin, depending on the look you want.
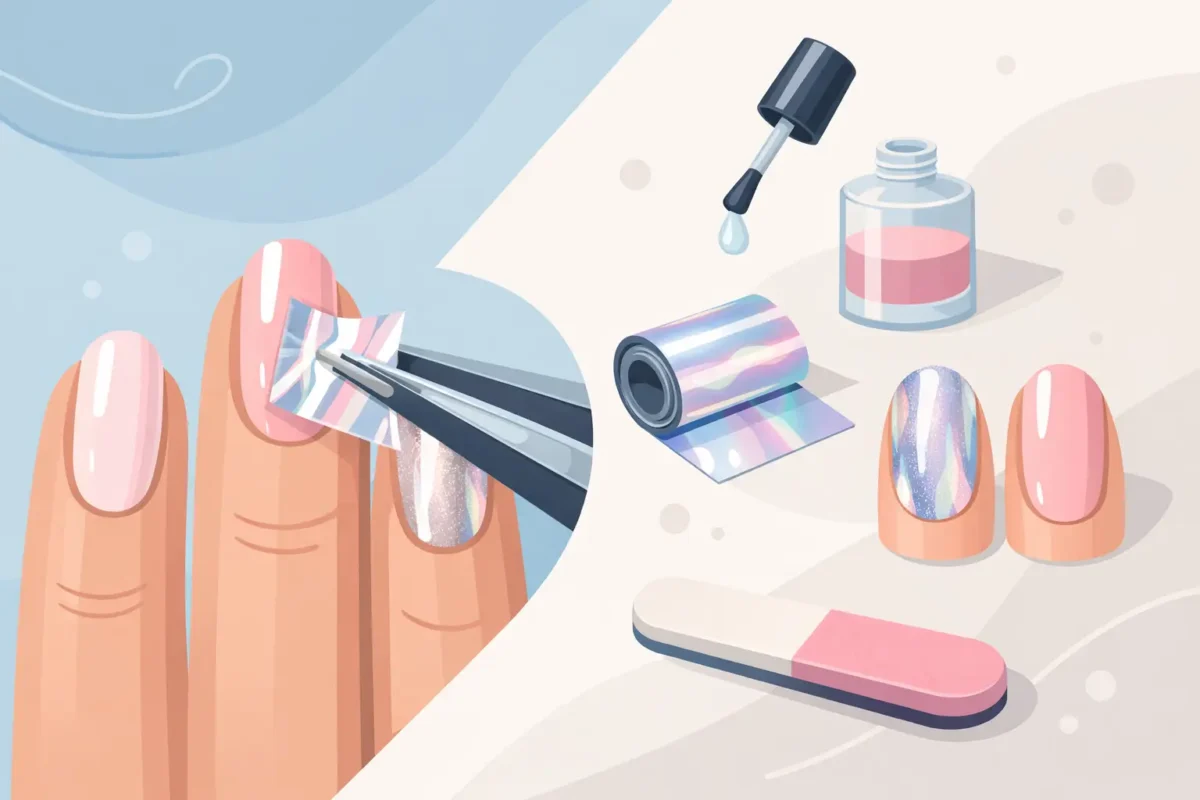
Application is straightforward once your prep is right. Cut a manageable piece of foil, place the transfer side down, and press with firm, even pressure. You can use a silicone tool, a gloved fingertip, or a lint-free applicator. Work from the centre outwards so you do not trap air or miss sidewalls. Then lift the foil back in one smooth motion rather than tugging at different angles.
That said, there is no single universal method because the finish depends on the adhesive system underneath.
Foil gel vs tacky layer
Foil gel is usually the better option for professionals because it gives you more control. You apply a thin, even layer only where you want the foil to grip, cure according to the product guidance, then press on the foil. This is ideal for full coverage, defined patterns, isolated accents, and cleaner repeat work on multiple clients.
Using a tacky gel layer can create a more distressed, broken-metal effect. Sometimes that is exactly what you want. If the brief is editorial, abstract or textured, a partial transfer can look intentional and expensive. If the client wants a mirror-like metallic finish, though, relying on residual tack can be frustrating.
The trade-off is speed versus precision. The tacky layer method can be quicker when you are experimenting, but foil gel is generally stronger for service consistency.
Choosing the right base for the look
Base colour changes everything with foil. Gold over nude reads soft and wearable. The same foil over black looks sharper, richer and more dramatic. Silver on milky white feels clean and modern. Iridescent foil over sheer pink creates a glazed, trend-led finish that works especially well for bridal sets and premium BIAB overlays.
If you want the foil itself to be the hero, choose a flat, opaque base. If you want depth, use translucent colour, jelly gel, or layered nail art underneath. This is where fashion-led services can stand out. Foils are not just decoration. They can create texture, movement and contrast with very little product.
For beginners, full coverage on one or two accent nails is easier than chasing a flawless foil on every finger. For more advanced technicians, broken foil placement around the cuticle, abstract framing, and encapsulated foil under builder or hard gel can look polished without being overworked.
Full transfer or partial transfer
A full transfer needs an even adhesive layer and consistent pressure. This works best when the nail plate or enhancement is smoothly finished and the foil sheet is not creased. Any wrinkle in the foil can interrupt the shine.
A partial transfer is more forgiving and often more fashion-forward. You can press foil into selected zones, creating flashes of metallic or print rather than a solid coat. This approach is useful when the foil pattern is bold and you want it to complement rather than dominate the set.
Neither is more correct. It depends on the design brief, the client’s style and how much time is built into the appointment.
Common mistakes when using nail foils
Most foil issues come back to four things: poor prep, too much product, incorrect curing, or rushing the seal.
Too much foil gel is one of the biggest mistakes. If the layer is too thick, it may wrinkle, flood the sidewalls, or cure unevenly. A thin layer gives better detail and reduces bulk. Likewise, under-curing or over-curing can affect transfer. Some products need a precise cure window to reach the right tack level, so guessing is not ideal.
Another common problem is pressing too lightly. Foil needs contact. If you barely skim the surface, you will get random gaps. On the other hand, aggressive rubbing can drag the adhesive and blur a detailed design. The pressure should be firm and controlled.
Top coating is where many good foil sets lose their finish. Some foils can crease, dull, or crack if the top coat is floated too heavily or scrubbed across the surface. Use enough product to seal smoothly, cap the edge, and avoid overworking the brush. If you are creating a highly textured or broken foil look, check whether a layer of clear gel before top coat will give a smoother final result.
How to use nail foils on different systems
Foils can work across natural nails, gel polish services, BIAB overlays, acrylic enhancements and hard gel extensions, but the route is slightly different each time.
On gel polish, foil is usually easiest after colour application with a dedicated foil medium. This keeps the service tidy and predictable. On BIAB, you need to think about balance and finish. If the apex is already built, keep your foil and top layers refined so you do not add unnecessary thickness. On acrylic, foil can be used over a finished surface or encapsulated for depth, but encapsulation requires clean structure and filing control so you do not file into the design.
For students and newer technicians, gel polish services are the best place to practise because they are quicker to refine and easier to troubleshoot. Once you can consistently transfer foil on a smooth gel base, moving on to overlays and enhancements feels far less hit-and-miss.
Sealing foil properly
Not every foil finish wears the same way. High-shine metallics can show scratches more quickly than a glitter or marbled design, especially on clients who are hard on their hands. That does not mean you should avoid them. It means your finishing steps matter.
Make sure edges are properly sealed and the top coat is compatible with the underlying products. If the foil sits right up to the free edge or sidewall, pay extra attention there. Lifting often starts at the perimeter, not in the middle of the nail.
If a client wants maximum longevity, keep expectations realistic. Foils are striking, but some designs are naturally more delicate than a plain block-colour gel manicure. Good consultation helps here. A client who works with cleaning products all day or uses their nails as tools may need a more protected design placement.
Making foil services commercially stronger
Foils are one of the easiest ways to elevate your service menu without slowing every appointment down. Used well, they can upgrade a basic set, create seasonal nail art quickly, and help you build a stronger visual identity on social content and in-salon displays.
The key is not throwing foil onto every nail because it is trendy. It is choosing designs that suit your client base and your timing. If your salon clients prefer wearable glam, think flashes of gold, soft marble foil, or subtle chrome accents. If your audience leans bolder, animal print foils, abstract metallic layering and mixed-finish sets can command more attention and a higher add-on value.
This is also where professional products and proper education make a difference. Reliable transfer, stable shine and efficient application are not just nice to have. They protect your appointment timing and your reputation. Brands built for nail professionals, including Nail Gaga, tend to understand that the finish must work under salon conditions, not just look good in packaging.
When foil is not the best choice
There are times to choose something else. If the nail surface is damaged, overly ridged, or poorly balanced, foil may highlight the issue. If the client wants an ultra-minimal manicure with no visible texture or reflection, a micro-glitter or pearlescent finish might suit them better. And if you are short on time during a fully booked day, a simple stamped detail or high-impact gel art may be faster than correcting a foil transfer that did not sit right.
That is part of working professionally. Trend-led does not mean using every technique on every client. It means knowing what gives the best result for the nail in front of you.
Once you stop treating foils as unpredictable and start treating them as a precision finish, they become far easier to control. Clean prep, the right adhesive method, and a smart design choice will do more for your results than any trick. Get those foundations right and foil stops being a gamble – it becomes one of the quickest ways to give nails that Fashion For Fingers edge.