
Blog
How to Prep Nails Professionally
Jul
A flawless set rarely goes wrong at the colour stage. More often, it fails before the product even touches the nail. Lifting at the cuticle, patchy gel application, service breakdown after a few days – these are usually prep problems. If you want to know how to prep nails professionally, the real answer is consistency. Good prep is not about rushing through a routine. It is about creating the right foundation for retention, hygiene and a cleaner finish.
For working techs, prep is where service quality becomes visible. Clients may notice the shine, the shape and the nail art first, but they come back for wear, comfort and reliability. That starts long before top coat.
Why professional nail prep matters
Professional prep does three jobs at once. It supports adhesion, protects the natural nail and sets the standard for the whole appointment. Skip or rush one stage and you can end up chasing problems later – lifting, uneven structure, product running into the sidewalls or a finish that looks bulky rather than polished.
There is also a hygiene point that should never be treated as optional. Clean tools, sanitised hands and a tidy working method are part of a professional service, not an extra. For salons and students alike, prep is where confidence is built. It tells the client that the service is being carried out properly, with care and with industry discipline.
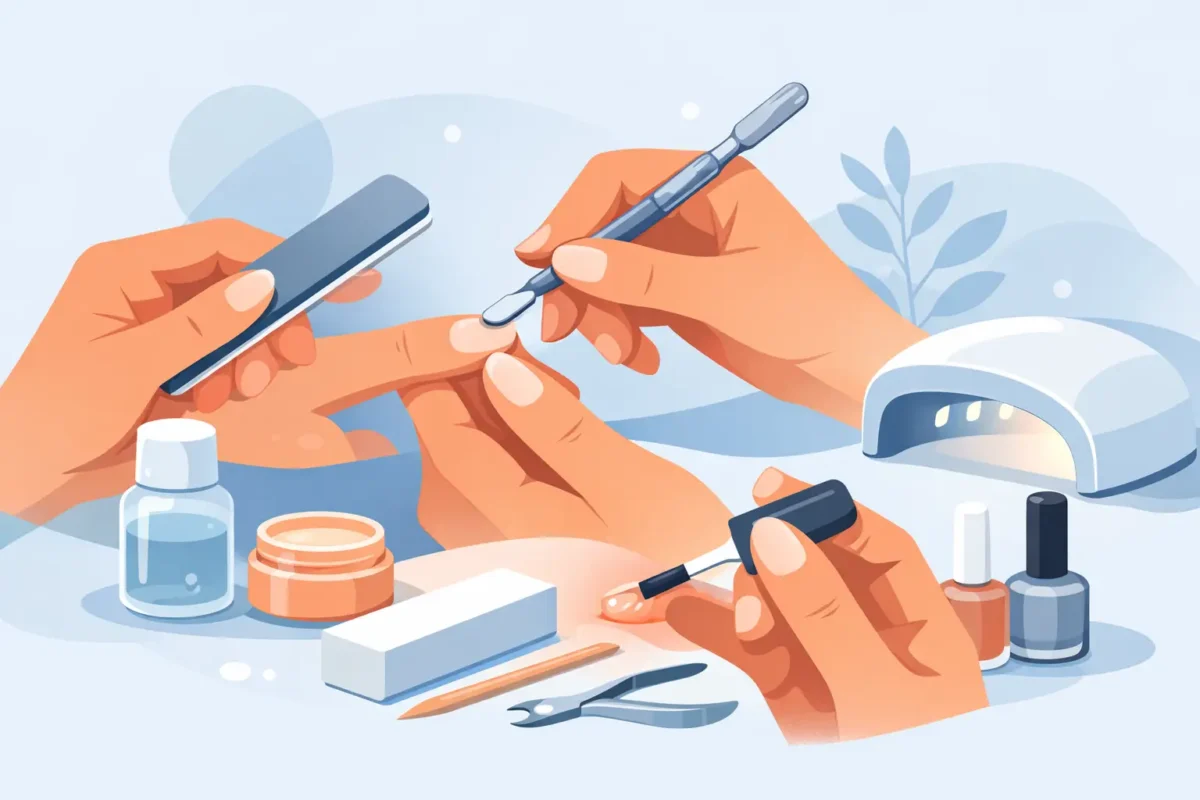
How to prep nails professionally from the start
The first stage is consultation, even if the client is a regular. Check the natural nails, the skin condition and any changes since the last appointment. Look for signs of damage, overexposure, contraindications or lifestyle factors that may affect product choice. A short set on a client who types all day may need a different approach from a long enhancement on someone who wants fashion-led impact for an event.
Once you know what you are working with, cleanse and sanitise both your hands and the client’s. Your tools and work surface should already be cleaned and ready before the appointment begins. This sounds basic, but salon standards are often won or lost in the basics.
If there is existing product on the nail, remove it correctly before starting prep. Do not prep over lifting product or thin out old material and hope for the best. Fresh work needs a sound base. If the client has previous enhancements, check whether there is trauma, peeling or excessive filing from earlier services.
Shape the free edge first
Before cuticle work, refine the free edge to the desired shape. This gives you a clear outline and helps keep the service balanced. Use an appropriate file and work gently, especially on natural nails. Over-filing at this stage can create weakness before the prep has properly begun.
The shape does not have to be final, particularly if you are applying structure later, but it should be neat and even. Symmetry matters. A clean shape makes the whole service look more expensive.
Tackle cuticle work properly
This is the stage many beginners underestimate. True professional prep means removing the non-living tissue from the nail plate, not aggressively scraping at the skin. If that tissue is left behind, product can sit on it rather than the nail itself, which is one of the quickest routes to lifting.
Use a cuticle pusher or suitable prep tool with control. Gently push back the proximal nail fold and lift away the dead tissue from the plate. If you use cuticle remover, make sure it is compatible with your service and removed thoroughly afterwards. Some techs prefer dry prep, others use a more detailed e-file method, but the right choice depends on training, confidence and the condition of the client’s skin.
Precision matters more than force. If the area looks sore, raw or overworked, that is not professional prep – that is damage.
Remove shine without removing strength
After cuticle work, lightly remove the natural shine from the nail plate. The word is lightly. You are not trying to thin the nail down or carve grooves into it. You are creating a suitable surface for adhesion.
Use a gentle buffer or the file grit recommended for your system. Work evenly and avoid repeatedly filing the same spot. Pay particular attention to the sidewalls and cuticle area, because these are the places where missed shine often leads to early lifting. At the same time, be realistic about the nail in front of you. Thin, flexible or previously damaged nails need a softer touch than strong natural nails.
Dust control is part of the finish here. Remove surface dust thoroughly before moving on. Any debris left on the plate can interfere with application and leave the result looking less refined.
Dehydrate and prime with purpose
If you are serious about learning how to prep nails professionally, this is where product knowledge starts to matter. Not every client needs the exact same prep chemistry, and not every system performs best with the same primer routine.
A dehydrator helps remove surface oils and temporary moisture from the plate. That gives your base product a cleaner starting point. Primer then supports adhesion, but only when it is used correctly. Too much can cause problems just as easily as too little. Flooding the nail with primer, touching the skin or layering incompatible products will not improve retention – it usually does the opposite.
The right approach depends on the system you are using, whether that is acrylic, hard gel, gel polish or BIAB. It also depends on the client. Some naturally oily nail plates benefit from a more targeted adhesion routine, while others need a simpler approach to avoid over-drying. This is where trained technique beats guesswork every time.
Match prep to the service
A gel polish client does not always need the same level of surface work as a full enhancement client. A BIAB overlay on healthy natural nails may call for one prep flow, while sculpted extensions require more structure-led planning. Professional prep is not random repetition. It is a method adjusted to the service outcome.
That is especially important in busy salons. Standardising your prep steps helps with consistency, but rigidity can work against you if you ignore what is actually in front of you. Good techs follow a system. Great techs know when to adapt it.
Common prep mistakes that ruin retention
The biggest issue is usually incomplete cuticle removal. If dead tissue remains on the plate, no base product will hold as well as it should. Close behind that is over-prepping – filing too aggressively, damaging the nail and then expecting product to compensate.
Another common problem is contamination. Touching the nail after dehydration, leaving dust behind, using oils too early or letting product contact the skin can all reduce wear time. Even hand cream residue can interfere with adhesion if it gets onto the plate before application.
Then there is timing. Prep should flow directly into product application. If you prep the nails and then leave them exposed while you search for tools, answer messages or reorganise your station, you risk moisture and oils returning to the surface. Professional results rely on a professional rhythm.
How to keep prep salon-fast without cutting corners
Speed comes from system, not skipping. Set your table up in the same order every time. Keep your files, prep tools, wipes and liquids exactly where your hand expects them to be. If you work in a salon team or teach students, this kind of structure makes a visible difference to timing and consistency.
It also helps to group the prep stages logically. Complete sanitation and assessment first, then shape, cuticle work, surface refinement, dust removal and prep liquids. Jumping back and forth wastes time and increases the chance of missing a stage.
For newer techs, it is worth slowing down until the process becomes second nature. Fast prep that causes lifting is not efficient – it just creates repairs, complaints and lost repeat business.
Professional nail prep is part technique, part standards
Clients often cannot name every prep step, but they can absolutely feel the result. Nails that last well, look tidy at the cuticle and grow out cleanly come from technicians who respect the foundation. Fashion-led finishes and statement nail art get attention, but prep is what keeps the standard high behind the scenes.
For serious technicians, this is also where your service becomes more commercial. Better prep improves retention, and better retention improves rebooking. It protects your reputation, supports premium pricing and gives every product system a fair chance to perform the way it was designed to.
If you want work that looks polished on day one and still earns compliments two or three weeks later, treat prep as part of the artistry, not just the admin before it.